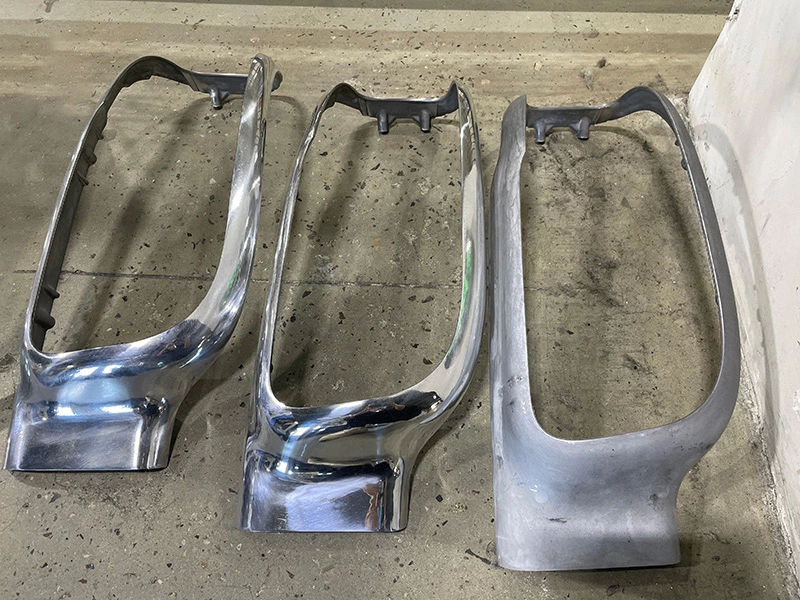
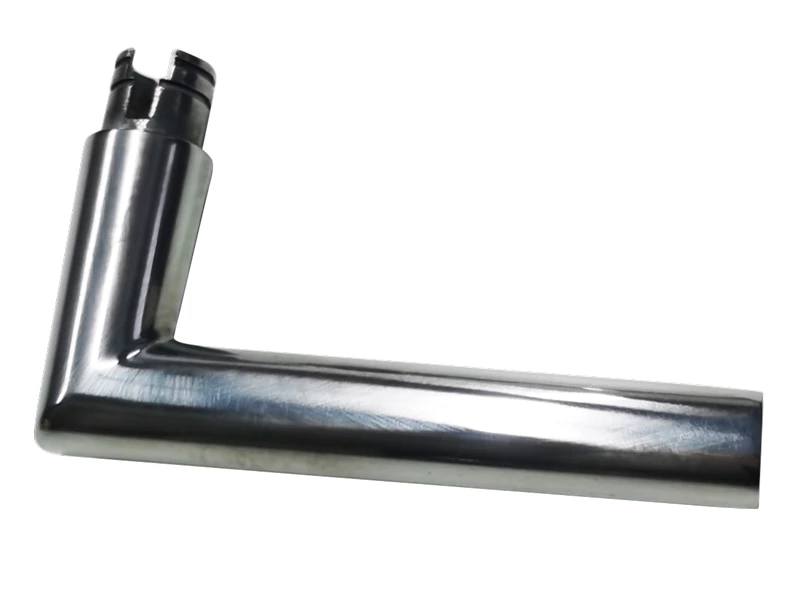
The Ultimate Guide to Surface Finish in Manufacturing: Definitions, Charts & Optimization
In manufacturing, the surface condition of a machined component plays a crucial role in its function, performance, and durability. Whether you’re involved in CNC machining, grinding, polishing, or deploying robotic systems for finishing tasks, understanding surface roughness and interpreting a surface finish chart is essential. Surface finishing is not just an aesthetic concern; it impacts how parts interact, resist corrosion, and wear over time.
This article KS will offer a comprehensive and easy-to-understand guide to surface finishing, including definitions, measurement systems, machining processes, surface finish charts, and how to optimize surface quality in manufacturing.
1. What Is Surface Finish?
Surface finish refers to the texture and quality of a surface, often resulting from machining or manufacturing processes. It is usually characterized by the roughness, waviness, and lay of a surface.
• Roughness: Small, finely spaced deviations resulting from the tool’s movement. This is typically the most critical component in surface finish and is often what “surface finish” colloquially refers to.
• Waviness: More widely spaced irregularities often due to machine vibration or warping.
• Lay: The predominant direction of the surface pattern, often dictated by the machining method used.
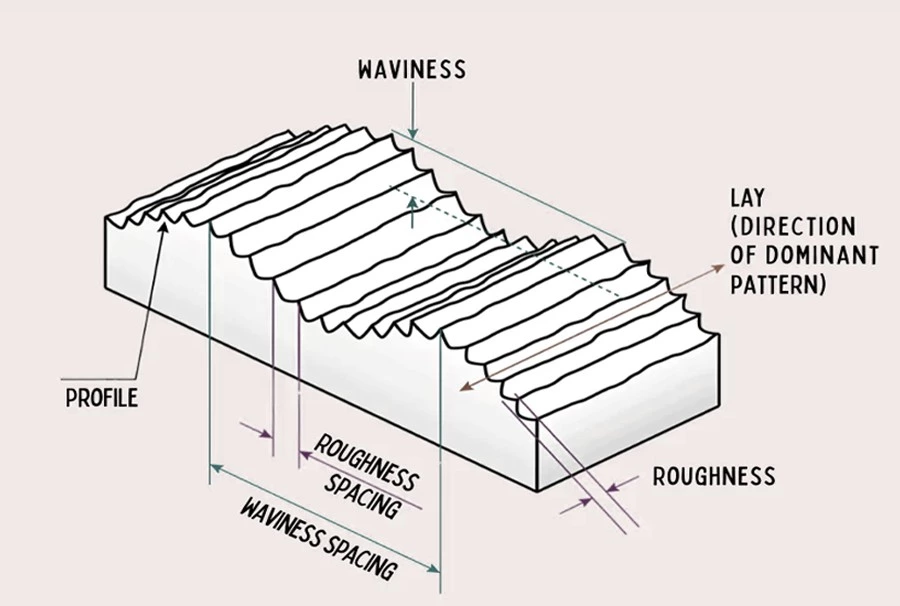
Understanding surface finish is important because it affects how components fit, function, and resist environmental wear (Tyagi et al., 2019).
2. Why Surface Finish Matters
Surface finishing plays a vital role in custom machining, as it directly influences how a product performs and interacts with its environment. Beyond aesthetics, the surface finish significantly affects the part’s ability to resist wear and tear. It can enhance or hinder lubrication, alter friction between contact surfaces, and impact corrosion resistance. Therefore, evaluating the surface finish is essential to ensure the product’s durability, efficiency, and long-term reliability in real-world applications.
• Friction and wear: Rough surfaces create more friction, leading to faster wear.
• Lubrication: Smoother surfaces promote better lubricant retention.
• Corrosion resistance: Surface finish can affect a part’s resistance to oxidation.
• Coating and adhesion: Paints, coatings, or glues adhere differently based on surface roughness.
• Fatigue life: Micro-cracks can initiate from rough surfaces under cyclic loading (Fayazfar et al., 2023).
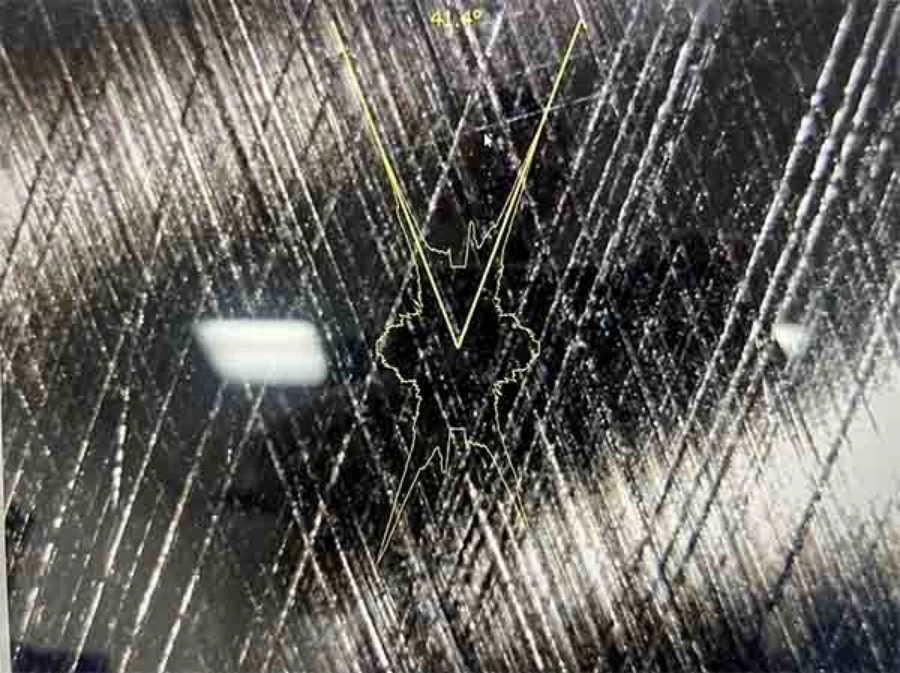
In industries like aerospace, automotive, and biomedical devices, surface integrity is critical.
3. Surface Roughness Parameters and Units
Understanding a surface finish chart begins with grasping common surface roughness parameters. These are measured in micrometers (µm) or microinches (µin).
3.1 Ra (Roughness Average)
• The arithmetic average of absolute values of the surface height deviations.
• Most widely used parameter for general engineering.
• Does not detect isolated peaks or valleys well.
3.2 Rz (Average Maximum Height)
• Average of the vertical distance from the five highest peaks to the five deepest valleys.
• More sensitive to outliers and useful in wear-prone surfaces.
3.3 Rmax (Maximum Roughness Depth)
• The largest single vertical peak-to-valley height in a sampling length.
• Useful for identifying surface defects like scratches or burrs (Albannai & Dashti, 2020).
These parameters help assess whether a surface is suitable for its intended application and inform machining decisions.
4. Methods for Measuring Surface Finish
There are three main categories of surface roughness measurement:
4.1 Contact Methods
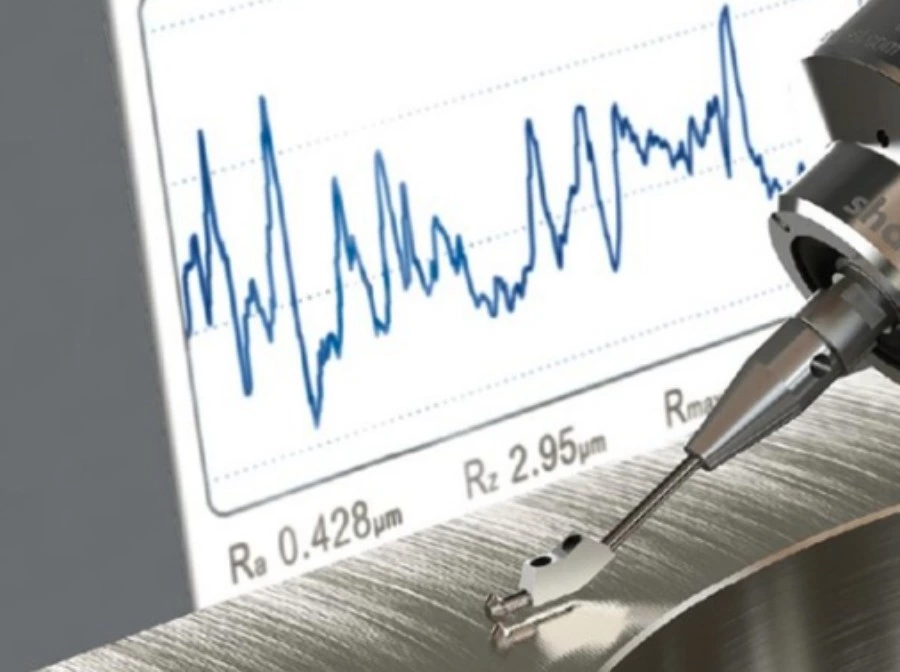
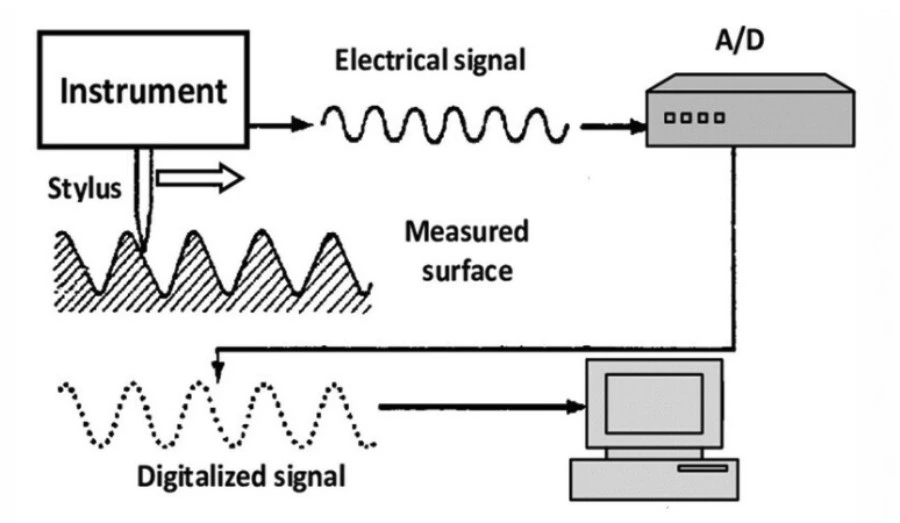
Stylus Profilometer
• A diamond-tipped stylus physically moves across the surface.
• Records vertical displacements to build a surface profile.
• Can scratch delicate surfaces and may require machine interruption.
Despite being an older method, it remains widely used due to its reliability.
4.2 Non-Contact Methods
Optical & Laser Profilometers
• Use laser triangulation or interferometry.
• Fast, non-destructive, ideal for inline quality checks.
Ultrasound-Based Sensors
• Send high-frequency sound waves and analyze reflections.
• Useful for difficult-to-access or curved surfaces.
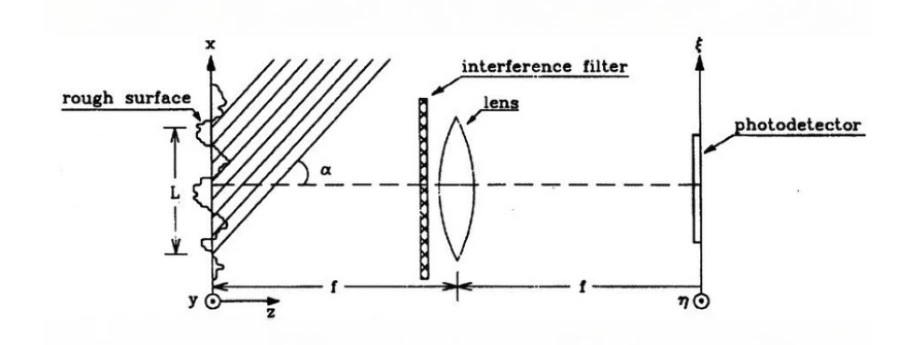
These technologies are particularly useful for polished, complex geometries and fragile parts (Soler et al., 2022).
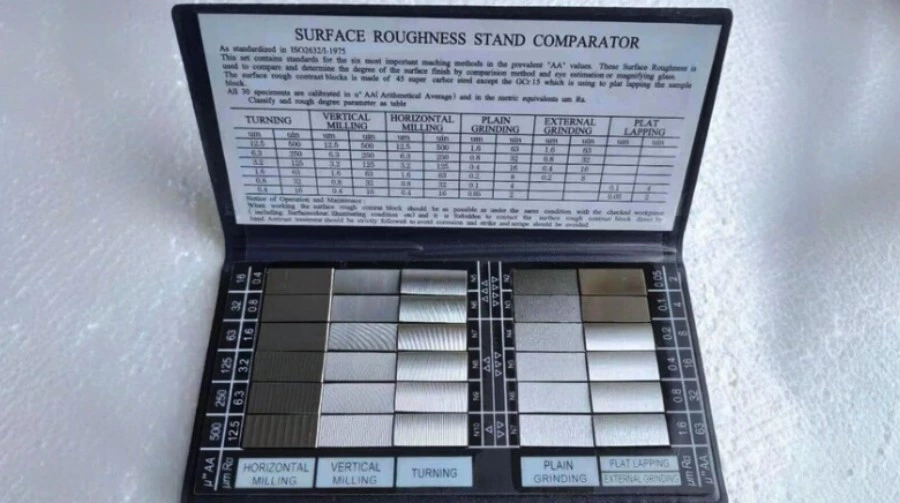
4.3 Comparison Methods
• Visual or tactile comparison against known surface finish standards.
• Often used in workshops where high-precision instruments are unavailable.
Here is A Sample of Surface Roughness Comparator:
5. Surface Finish Chart: A Reference Tool
A surface finish chart relates specific Ra values to common machining processes. This helps manufacturers choose the correct method based on the required surface texture.
| Process | Typical Ra (µm) | Typical Ra (µin) |
| Lapping | 0.01 – 0.1 | 0.4 – 4 |
| Honing | 0.05 – 0.4 | 2 – 16 |
| Grinding | 0.2 – 1.6 | 8 – 63 |
| Milling | 0.4 – 3.2 | 16 – 125 |
| Turning | 0.8 – 6.3 | 32 – 250 |
| Sand Casting | 6.3 – 25 | 250 – 1000 |
(Source: Kumar, 2021)
Surface finish charts ensure uniformity in communication between designers, machinists, and quality inspectors.
6. Factors That Influence Surface Finish
6.1 Tooling and Cutting Parameters
• Feed rate: Higher feed = rougher finish.
• Cutting speed: Higher speed = smoother finish (in most cases).
• Tool wear: Dull tools degrade finish quality (Jain & Jayswal, 2007).
6.2 Machine Vibration
• Adds sinusoidal patterns to surface profile.
• Can significantly raise surface roughness values.
6.3 Coolant Type and Delivery
• High-pressure or minimal quantity lubrication improves finish and tool life.
• Enhances chip removal and reduces friction (Ozkavak et al., 2021).
6.4 Material Properties
• Harder materials may show better finishes under the same conditions.
• Ductile materials tend to smear, degrading surface appearance.
7. Surface Finishing Techniques
Surface finishing is often done post-machining to enhance the texture. Common techniques include:
7.1 Grinding
• Abrasive process used for high precision.
• Often used before polishing for flatness and pre-finish.
7.2 Polishing
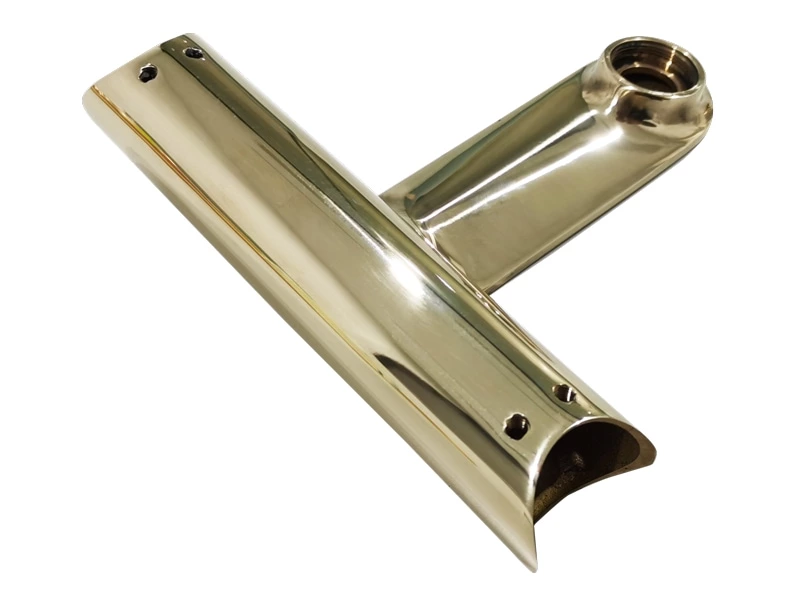
• Uses fine abrasives to produce mirror finishes.
• Typically needed in medical and optical devices.
7.3 Honing and Lapping
• Improve geometrical accuracy and smoothness.
• Used for tight-tolerance components like engine cylinders.
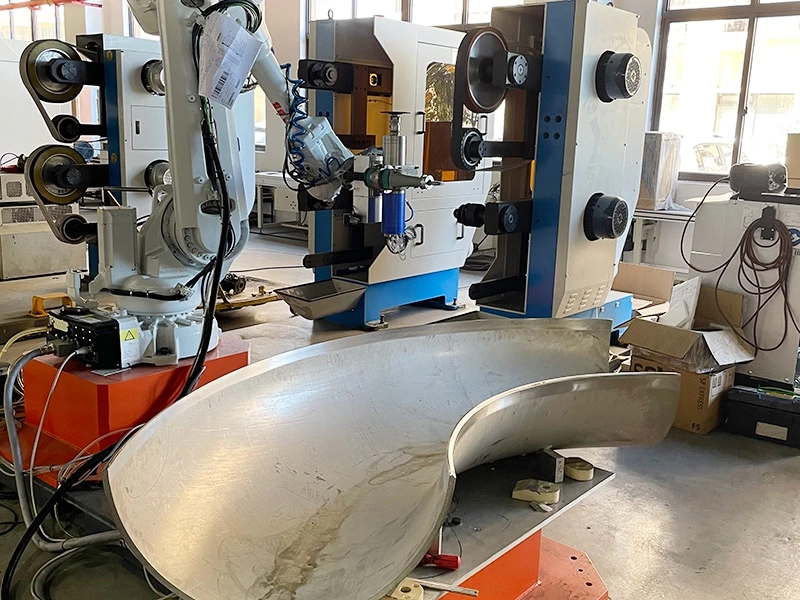
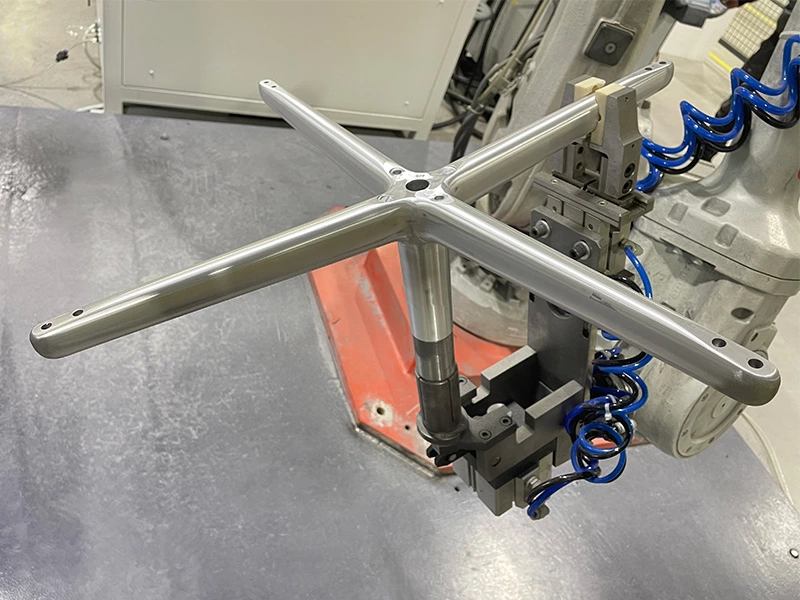
7.4 Robotic Polishing
• Integrates industrial robots with feedback systems to automate polishing.
• Maintains consistent quality across complex shapes.
Aman et al. (2023) emphasized robotic integration in polishing workflows to reduce manual effort and increase repeatability.
Related Reading :
The Ultimate Guide To Industrial Automation For Small and Medium Manufactuers(SMMs)
Robotic Grinding: How Automation Delivers 24/7 Efficiency and Dramatically Cuts Costs
8. Surface Finish in Additive Manufacturing
Additively manufactured parts often require post-processing due to rough surfaces. Methods include:
• Chemical polishing (Tyagi et al., 2019)
• Magnetic Abrasive Finishing (MAF) (Jain & Jayswal, 2007)
• Laser-based smoothing
• AI-predicted process planning for roughness improvement (Singh Rajput et al., 2023)
9. Improving Surface Finish in Manufacturing
To enhance finish quality:
• Use sharper tools and optimize geometry.
• Improve machine rigidity and damping.
• Select cutting fluids tailored to material and operation.
• Utilize feedback systems in polishing robots.
• Employ post-processing techniques like burnishing, chemical etching, or ultrasonic cleaning.
Modern R&D labs are also applying machine learning models to predict surface roughness and adapt machining parameters in real-time (Khorasani & Yazdi, 2017).
Conclusion
Understanding surface finish isn’t just a matter of aesthetics. It’s vital for achieving mechanical functionality, minimizing wear, and improving product lifespan. Whether you’re an engineer working on high-performance components or a technician in a machine shop, mastering the surface finish chart helps in selecting and controlling the right processes to meet technical requirements.
By combining proper measurement tools, optimal machining strategies, and post-processing technologies (including robotic polishing), manufacturers can consistently deliver high-quality components across industries.
Empower Your Production with Kingstone Robotics
Choosing Kingstone Robotics means partnering with a team committed to your long-term success. Our integrated solutions enhance your production capabilities, allowing you to improve quality, reduce costs, and increase overall productivity. Simplify your polishing operations and achieve flawless finishes that exceed customer expectations. We provide not just machines, but a partnership that comes with an in-depth understanding of advanced manufacturing processes and a commitment to innovation.
Get Started Today -> Contact An Expert
References
1. Albannai, A., & Dashti, M. (2020). A Review on Surface Roughness (Ra) Ranges for Some Finishing Processes. International Journal of Scientific and Engineering Research. PDF
2. Aman, A., Bhardwaj, R., Gahlot, P., & Phanden, R.K. (2023). Selection of Cutting Tool for Desired Surface Finish in Milling Machine Using Taguchi Optimization. Materials Today: Proceedings. Link
3. Tyagi, P., et al. (2019). Reducing Surface Roughness by Chemical Polishing of 3D Printed Steel. The International Journal of Advanced Manufacturing Technology. Springer
4. Jain, V.K., & Jayswal, S.C. (2007). Magnetic Abrasive Finishing: Modeling and Simulation. Journal of Manufacturing Processes.
5. Kumar, A. (2021). Analysis of Surface Finishing Processes – A Review. Gyanvihar Journal. PDF
6. Fayazfar, H., et al. (2023). Surface Roughness Enhancement in Additive Manufacturing. Springer. Link
7. Ozkavak, H.V., et al. (2021). Estimating Surface Roughness in EDM Processing. CIRP Journal of Manufacturing Science and Technology. ScienceDirect
8. Soler, D., et al. (2022). Prediction of Surface Roughness Using Neural Networks. Journal of Manufacturing and Materials Processing. MDPI
9. Singh Rajput, A., Kapil, S., Das, M. (2023). Super Finishing of Flat Surfaces Using Magnetorheological Finishing. Journal of Intelligent Manufacturing. Tandfonline
10. Khorasani, A.M., Yazdi, M.R.S. (2017). Dynamic Surface Roughness Monitoring Using ANN in Milling. The International Journal of Advanced Manufacturing Technology.
Disclaimer:
The images used in this content are sourced from the internet and are intended solely for educational and informational purposes to enhance knowledge sharing. If you are the copyright owner of any image and wish for it to be removed, please leave a message in our form. We fully respect intellectual property rights and will cooperate 100% to remove the image promptly.

